7 . The installation of the length !
-
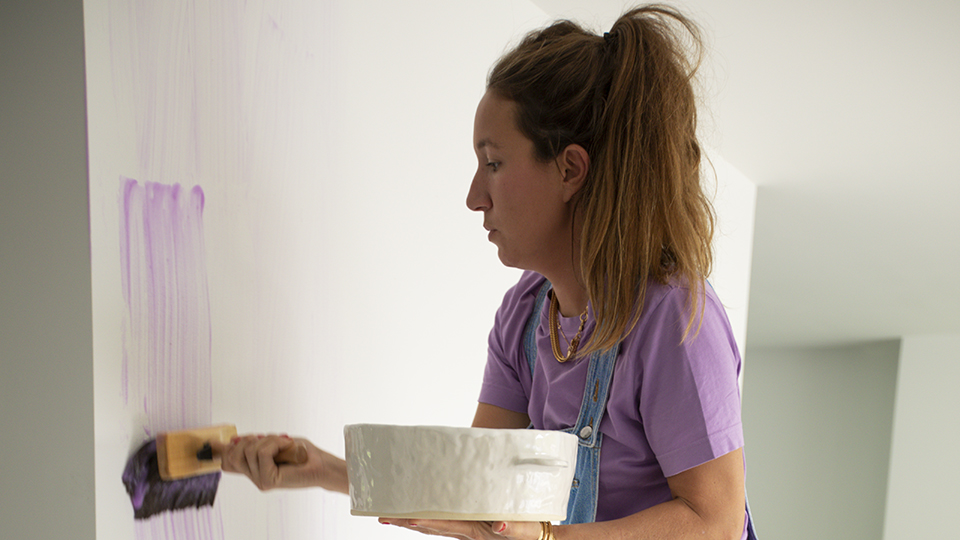
1 Applying the glue
We will be able to start putting glue on the wall!
Do not glue the entire wall at once, but only the area corresponding to the size of each strip.
Use your glue brush, dip it in your bucket with the glue, don't overload it or it will drip.
Always spread your glue 5/10 cm more than the width of your strip to ensure that the edges of the wallpaper will stick to the wall.
Spread the glue evenly all over the wall for your the strip.
Do not wait too long before installing, the glue may dry out and you will just have to start over!
-
2 Laying the first strip
MAXIMUM EXCITEMENT 🎉
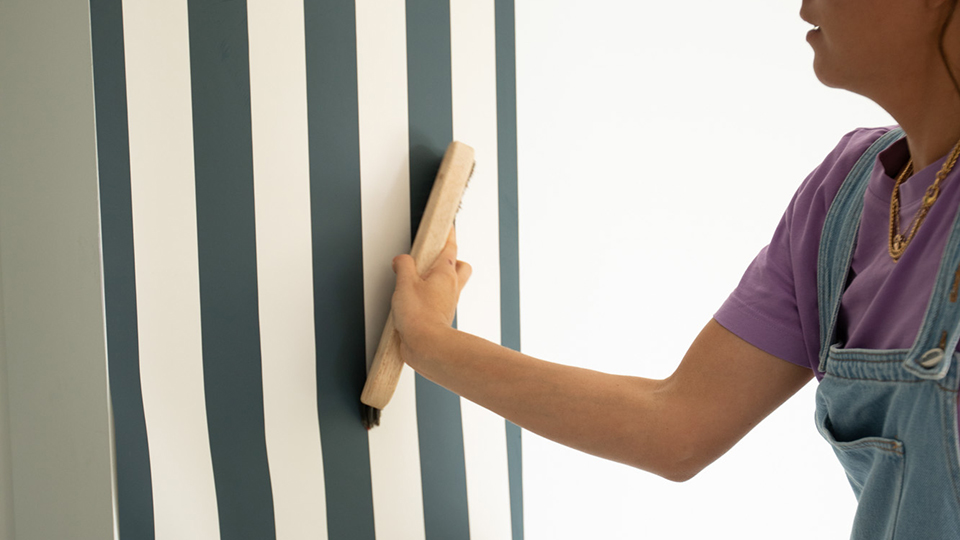
Start at the top of your wall to place your wallpaper correctly, don't forget to protrude 5cm at the top!
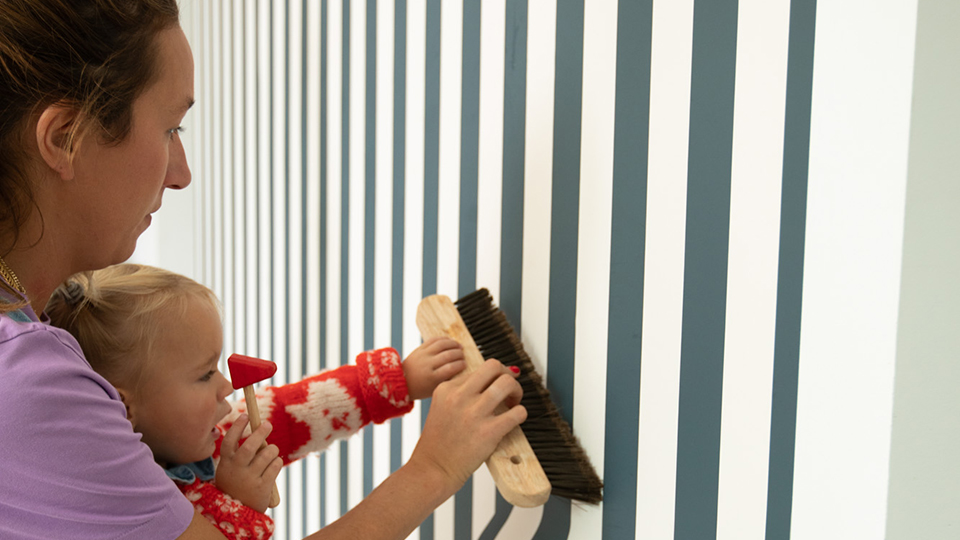
Then with your wallpaper brush (clean and dry) smooth out 50cm of your surface (no need to press excessively, KEEP IT CALM ’).
Now you have to brush from the middle outwards, this will glue the wallpaper well and avoid bubbles ! Imagine a sun and its rays ! Then, you gradually descend, always smoothing areas of 50 cm with your wallpaper brush.
If your wallpaper is badly placed, do not worry, you can peel it gently by lifting it and the brush it back into place!
-
3 The finishes !
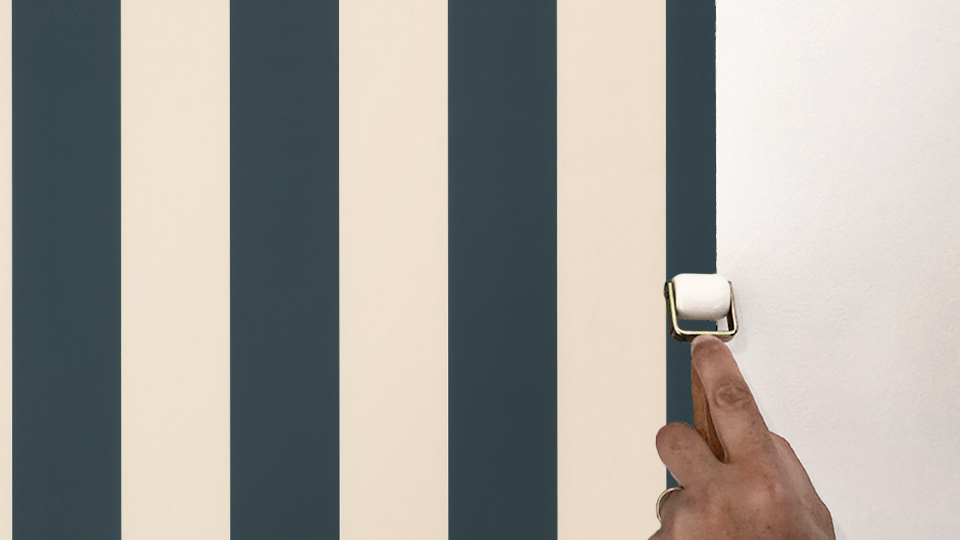
Once you are sure of your installation, gently pass your joint roller (without pressure) on the edges to stick them well to your wall!
-
It is common for the glue to come out of the joints during installation. Gradually remove excess glue with a damp sponge.
-
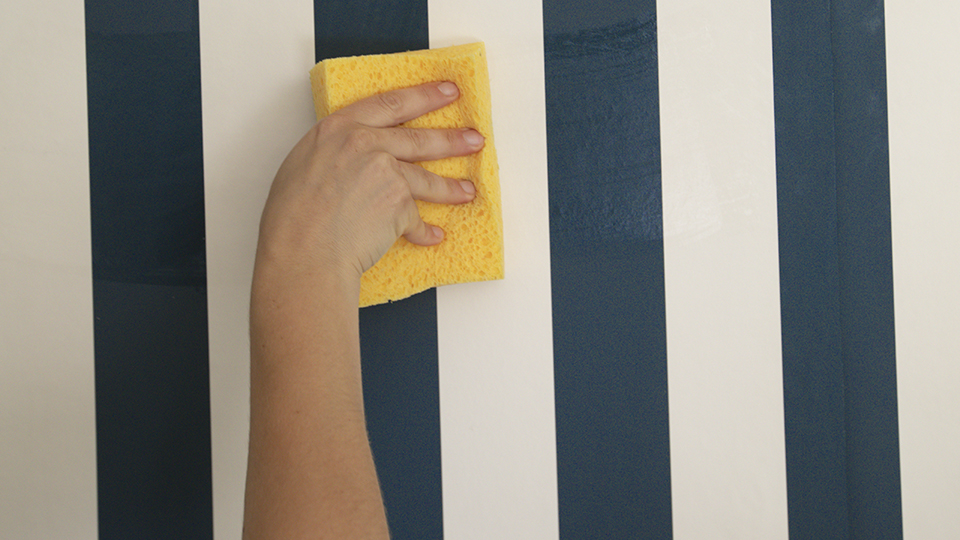
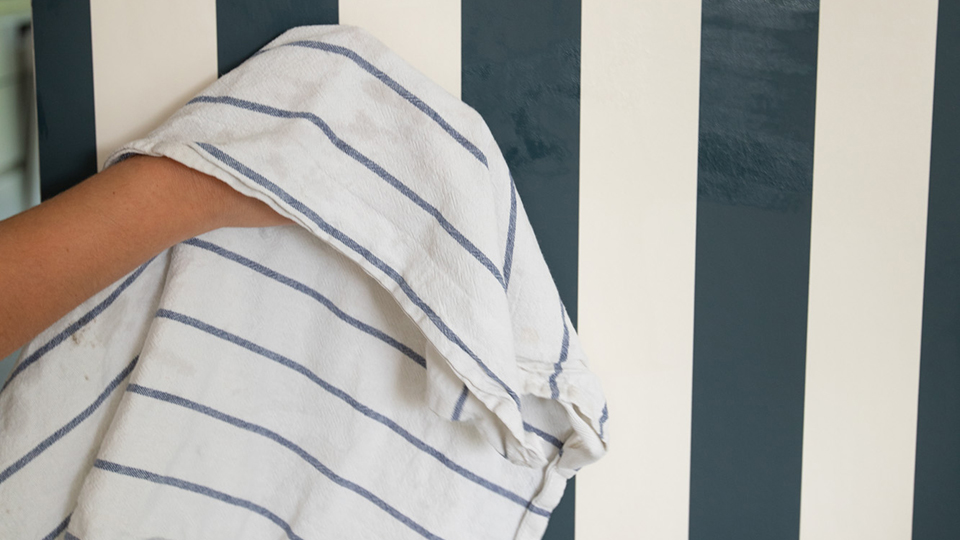
Go delicately on the glue stain (without rubbing) and push it outwards! Then, with a dry cloth or cotton cloth, you dab directly on the stain to absorb the moisture.
-
4 Silence, cut #2 !
Now place your ruler edge to edge or a cutting knife under the paper at the level of the wall-ceiling and wall-plinth corner,
-
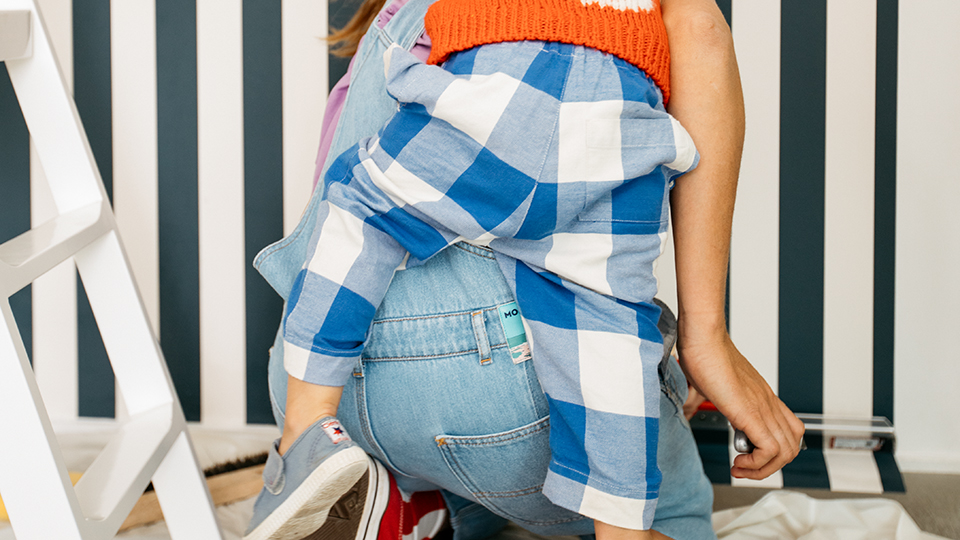
and with your cutter, cut the excess along your length.
-
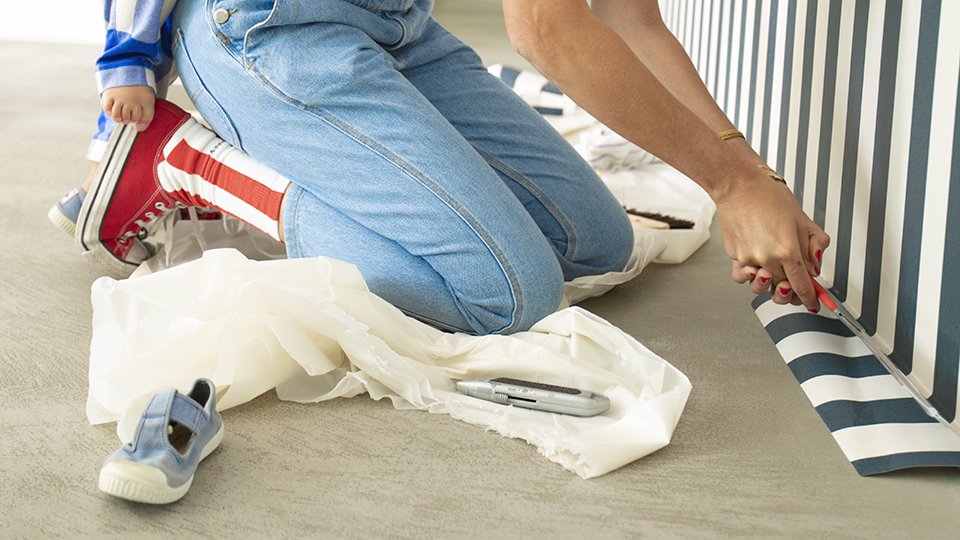
And there you have it, you have laid your first length!
5 Next, Next !
Then find your match in the design and glue your second length next to the first perfectly edge to edge
-
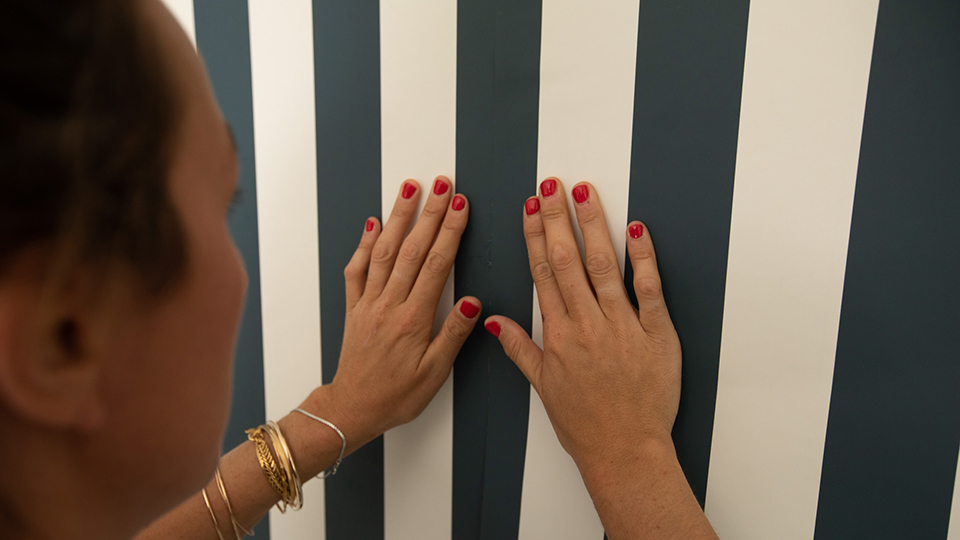
Repeat the same actions as for the first width with the wallpaper brush
-
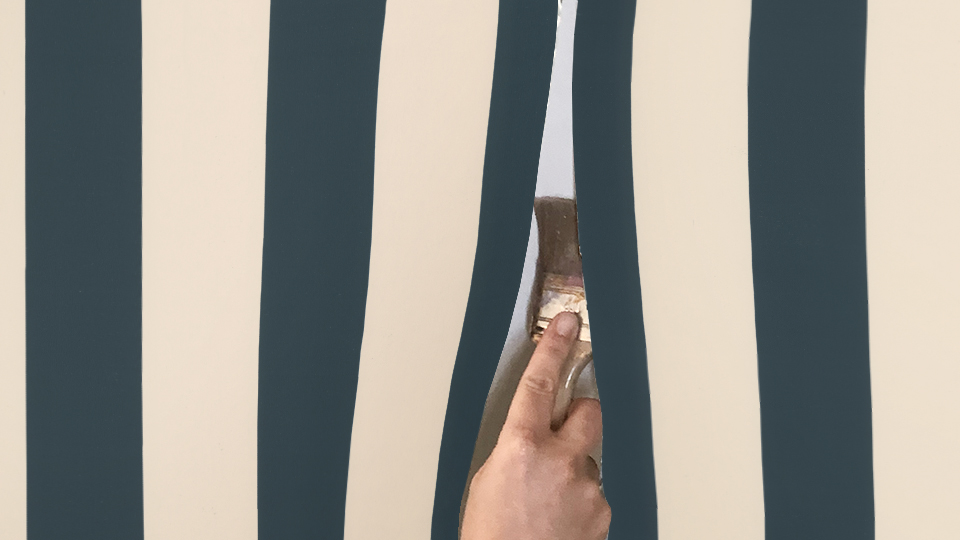
PS :If you feel like the edges are not glued properly to the wall, use a paintbrush to add glue under the edges, being careful not to apply too much. (see technical photo of the shade)
-
Go delicately over the joints with your roller to glue the edges on your wall and then cut the excess lengths at the top and bottom.
THEN ADMIRE and BE PROUD!
-

-

